
How to Propagate Lavender in an Easy Way: Expert Tips for Home Gardeners
Propagating lavender is a rewarding gardening project that allows you to easily grow more of these beautifully fragrant and versatile plants. With a few simple steps and careful attention, you can increase your lavender collection and enjoy a higher success rate in propagating these lovely plants.
First, you need to choose the right time and method for propagating your lavender. Hardwood cuttings are best taken in the spring or fall, while softwood cuttings should be taken from fresher, green growth. The key to successful propagation is providing the right rooting environment and proper care during the process.
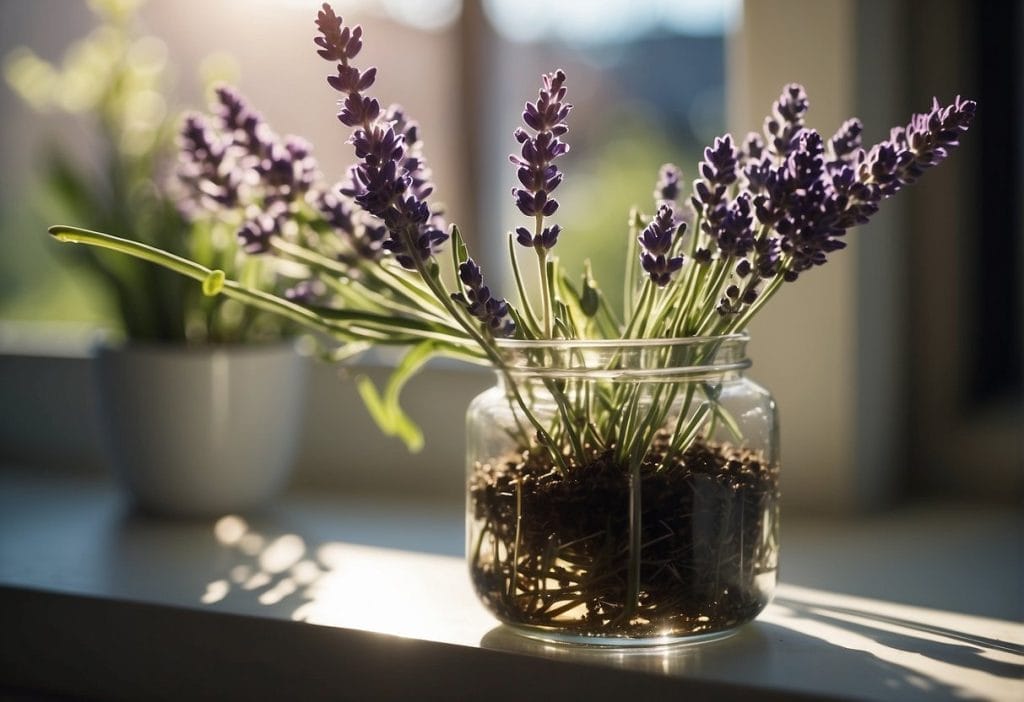
Whether you choose to propagate lavender through soil or water, it starts with selecting healthy cuttings from your existing plants. By following a straightforward process and monitoring the progress of your cuttings, you can easily grow more lavender plants and enhance your garden with their captivating scent and appearance.
Preparing for Propagation

Selecting Quality Cuttings
To ensure successful lavender propagation, start with healthy cuttings from the parent plant. The ideal time to harvest cuttings is early morning when the plant is fully hydrated. Choose stems that are approximately 3 to 6 inches long, with no signs of disease or pests, and a few sets of leaves at the top. Use clean, sharp pruning shears to make a 45-degree angle cut just below a node. This will encourage rooting at the node and also maximize the exposed surface area for water intake.
Creating the Ideal Soil Mix
Lavender cuttings need well-draining soil to prevent root rot. Preparing the right soil mix is critical for successful propagation. A simple mix consisting of equal parts perlite, sand, and peat moss works well. You can also purchase a commercial soil mix designed for propagation.
- Start by choosing a clean container with drainage holes to prevent waterlogging.
- Fill the container with the prepared soil mix, leaving about an inch of space below the rim.
- Moisten the soil thoroughly but avoid making it too soggy.
- Create 1- to 2-inch deep planting holes using your finger or a pencil, spacing them adequately if you’re propagating multiple cuttings in one container.
By carefully selecting quality cuttings and creating the ideal soil mix, you’re setting the stage for successful lavender propagation. Once you have prepared your cuttings and soil, you can proceed to plant and nurture your future lavender plants.
Propagating Techniques

Softwood Cuttings
Softwood cuttings are taken from new growth on a lavender plant during the spring or early summer. To take a softwood cutting, choose a healthy stem with several leaves and cut at a 45° angle just below a leaf node. Remove the leaves from the bottom half of the cutting and dip the cut end into a rooting hormone to promote faster root formation. Plant the cutting in a well-draining soil mix, ensuring the remaining leaves are above the soil line. Keep the medium moist and provide adequate humidity by covering the cutting with a plastic bag or placing it in a propagator. In 4-6 weeks, your cutting should have developed roots and be ready for transplanting.
Hardwood Cuttings
Hardwood cuttings are taken from more mature, woody stems of the lavender plant, typically in the fall or early spring. To take a hardwood cutting, locate a healthy stem and cut a 3 to 6-inch piece at a 45° angle just below a node. Remove the lower leaves and dip the cutting in a rooting hormone solution.
Plant the cutting in a well-draining potting mix, ensuring that the leaves are above the soil surface. Keep the soil moist and provide sufficient humidity as with softwood cuttings. After 6-8 weeks, you should see roots forming; gently tug on the cutting to check for resistance which indicates rooting.
Layering Method
Another easy technique for propagating lavender is the layering method. Start by selecting a healthy, flexible stem and gently bend it to the ground. Choose a node where the stem touches the soil and carefully remove the leaves from that section. Lightly wound the stem’s lower surface at the node by scraping the bark away – this will encourage rooting.
Cover this wounded node with soil, ensuring that the remaining part of the stem and its leaves remain above ground. Secure the buried node with a U-shaped wire, pin, or a small rock to hold it in position. Keep the soil around the layered stem moist, and within a few months, it should have formed roots. Once well-rooted, cut the new plant from the mother plant and transplant it to your desired location.
Caring for Propagated Lavender
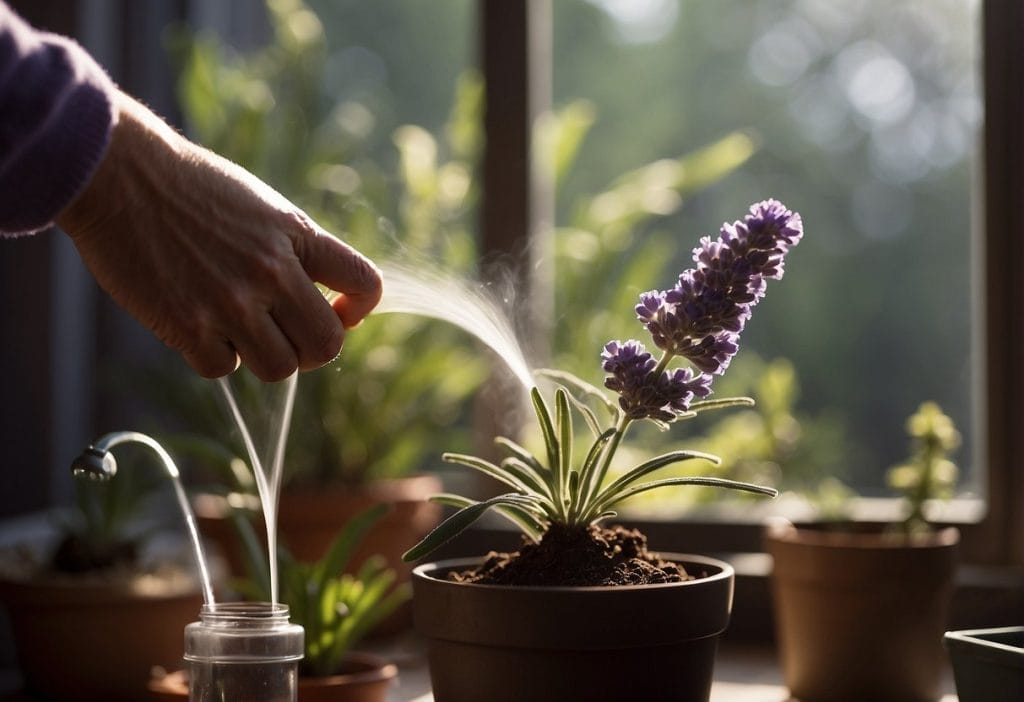
Watering and Humidity
When caring for your propagated lavender, it’s essential to maintain proper water levels and humidity. Keep the soil consistently moist but avoid overwatering, which can cause it to become soggy. To achieve this, water your lavender cuttings sparingly every few days. Monitor the moisture level in the soil by gently pressing your finger into it. If it feels dry, it’s time to water.
A humidity dome or plastic bag can help retain the moisture for your lavender cuttings. Place the dome or bag over the cutting and container, with the plastic held slightly away from the plant. Ensure some air can still flow around the cuttings, as stagnant air can lead to mold growth. Remember to check the humidity levels regularly and adjust accordingly to maintain a balanced environment.
Sunlight and Temperature
Lavender cuttings need an optimal mix of sunlight and temperature to successfully root. Place your cuttings in a warm area with bright, indirect sunlight. Avoid locations with direct sunlight as it could potentially harm the young cuttings by drying them out or overheating them.
Keep an eye on the temperature as well, ensuring it stays within the 65-75°F (18-24°C) range. This helps promote healthy root growth. If necessary, you may need to move the cuttings to a cooler or warmer area of your home or use a heat mat to maintain the optimal temperature.
By closely monitoring and maintaining proper watering, humidity, sunlight, and temperature, you will be able to help your lavender cuttings grow into healthy, strong plants.
Transplantation and Growth

When to Transplant
After successfully propagating your lavender cuttings, the next step is to transplant them. The ideal time to transplant is usually within 2-4 weeks after the cuttings have been planted. During this period, keep an eye on the root growth as it plays a vital role in the later development of the plant. Check for root growth by gently tugging on the stem. If you feel some resistance, it’s an indication that the cutting has formed roots. At this point, it’s safe to transplant the cutting into a larger pot or directly into your garden.
When choosing pots, look for those with proper drainage as lavender plants thrive in well-drained soil. Keep in mind that lavender is also sensitive to excessive moisture, so avoid overwatering. A well-draining pot will help in maintaining the right level of moisture and ensuring healthy root growth.
Growing into Mature Plants
Once your lavender cuttings have been transplanted, follow these steps to help them grow into mature plants:
- Sunlight: Lavender plants need at least 6-8 hours of bright, direct sunlight daily. Make sure to place your transplanted lavender in a spot that receives plenty of sun.
- Watering: Keep the soil evenly moist, but not wet. Overwatering can lead to root rot. Allow the soil to dry out slightly between waterings.
- Fertilization: Lavender plants do not require much fertilizer. If you feel the need to fertilize, use a slow-release, low-nitrogen fertilizer.
- Pruning: Remove any dead or discolored leaves and flowers as they appear. Regular pruning helps to maintain the plant’s shape and encourages bushy growth.
- Pest control: Lavender plants are generally pest resistant, but if you notice any pests, use an organic, pesticide-free solution to keep them under control.
Following these guidelines for transplanting and growing your lavender plants should result in beautiful, healthy plants that can add a touch of color and fragrance to your garden.


